How to Make Japanese Milk Bread

How to Make Japanese Milk Bread

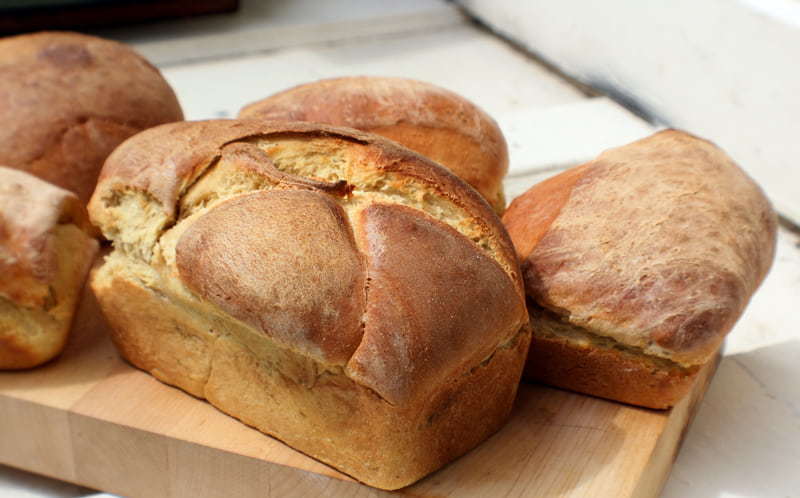
Japanese milk bread (also known as Hakkaido milk bread or shokupan) made waves the past few years, though it’s been around for a very long time in Japanese culture.

Everyone who’s tried this milk bread has fallen in love with it so it’s no surprise that we’ve fallen in love with it, too. No one can deny it has the fluffiest and softest texture from the milk or the sweetest buttery taste on your tongue as you take a bite.

Since you love Japanese milk bread just as much as we do, we made the process of making it easier so you can bake your own milky bread at home without having to scour for Asian bakeries in your town.

The History of Japanese Milk Bread

No one is exactly sure of the history of Japanese milk bread since bread wasn’t a big thing in Japan for a very long time, but there are several theories.

Bread was introduced to Japan until 1543. When Christian missionaries on a Portuguese ship found themselves in Japan, they traveled throughout Japan spreading the word of God as well as how to make bread.

It’s believed that a British baker by the name of Robert Clarke came to Japan and started his own bakery. This was back in 1862. He took the Chinese method of Tangzhong and created his own variation of milk bread.

In the Opium War in 1840, Japan started to mass-produce bread to feed their soldiers. It was easy and cheap to make and filled the soldiers’ bellies.

In World War 2, they also used bread to feed the soldiers as well as the rest of the country since food was scarce.

That’s when they started creating their own variations and recipes for different types of bread, including milk bread.

How to Make Japanese Milk Bread

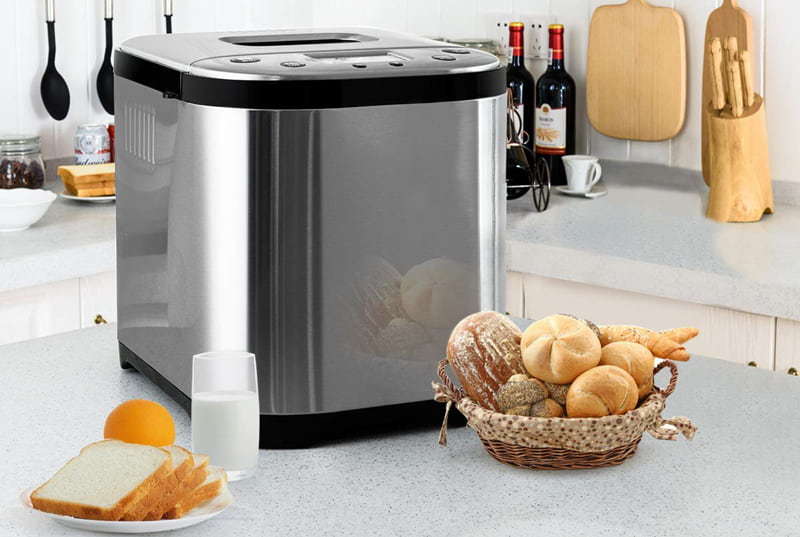
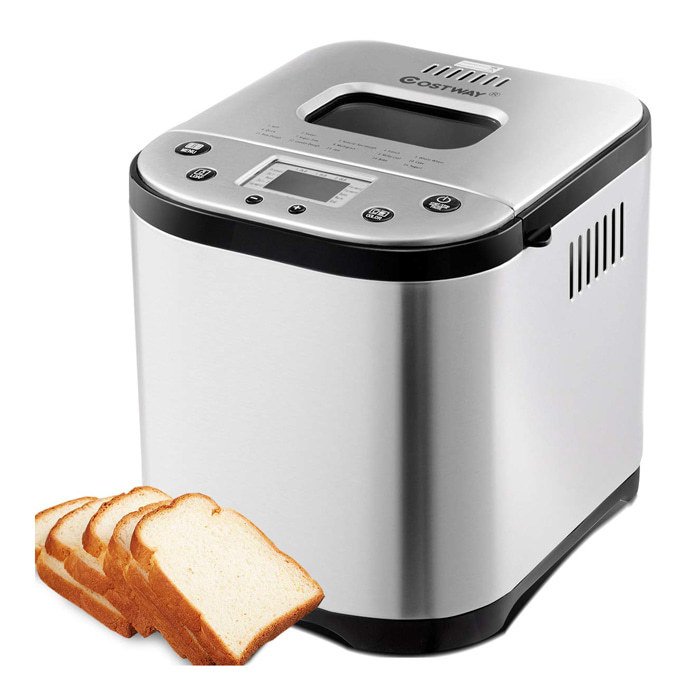
COSTWAY Bread Maker Automatic Programmable Multifunctional Bread Machine with 15 Programs
OUR RATING

Making Japanese milk bread is a bit more complicated than making most bread since it includes a starter (also known as a roux or a paste called Tangzhong).

We’ve tried to break down the recipe into simple steps to make it easier for you. This recipe walks you through each step one by one. It’s made for an advanced bread machine with different settings. There are also some steps you’ll have to do without your machine.

This recipe is for a one-pound loaf of Japanese milk bread.

The Starter/Roux:

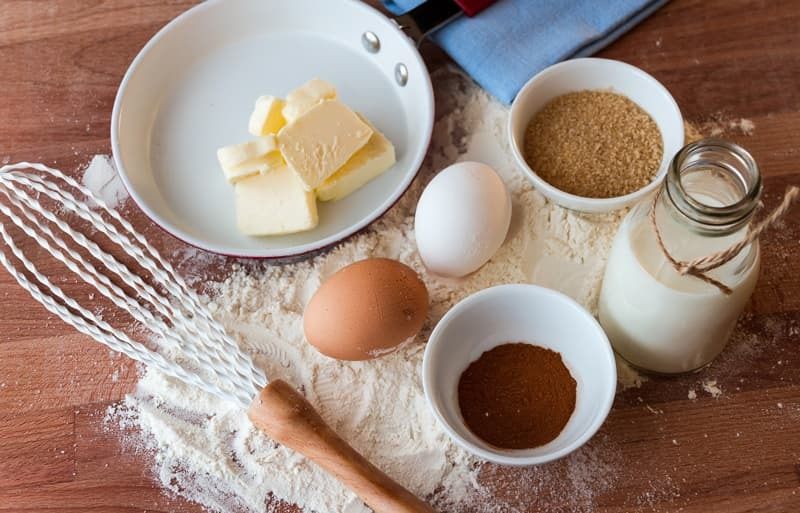
  • 1/3 cup of bread flour
  • 1/2 cup of whole milk (you can switch it out if you want less fattening milk)

Egg Wash:

  • 1 egg
  • 2 tablespoons of whole milk

​​The Japanese milk bread dough:

  • 1/2 cup of whole milk
  • 1 cup of whipping cream
  • 2 1/2 cups of bread flour
  • 1/3 cup of sugar
  • 1 teaspoon of sea salt
  • 2 1/4 teaspoons of yeast
  •  1 egg

Making the Starter:

Making the Starter
  • First, whisk the bread flour and the milk until it’s smooth in a pot.
  • Next, set the pot on medium heat on the stovetop. Continue to stir the ingredients.
  • Once the mixture has a thickened, remove it from the heat. This usually takes about five minutes.
  • Pour the mixture into a small bowl and cover with plastic wrap and set it off to the side to cool to room temperature.

Making the Egg Wash:

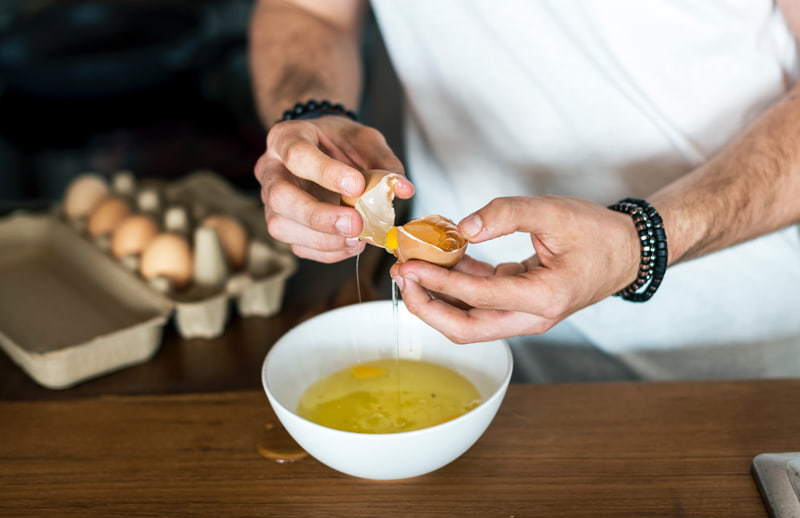
  • First, crack the egg into a small bowl and beat it thoroughly.
  • Once the egg is beaten, add 2 tablespoons of milk. Stir the mixture.
  • Set it off to the side with the starter.

Making the Japanese Milk Bread:

Making the Egg Wash
  • Add the milk, whipping cream, egg (cracked), starter mixture, the bread flour, salt, sugar, and yeast into the bread machine. Make sure you add the liquids first unless your bread machine states otherwise.
  • Set your bread machine to “Dough”. It will mix the ingredients and knead it properly.
  • Once your machine is finished kneading, let the dough rise until it’s twice its original size. This usually takes between one hour and 90 minutes.
  • On a lightly floured surface, make 4 equal-sized dough balls. Let these dough balls sit for about 10 to 15 minutes.
  • Use a rolling pin and flatten all four balls into a rectangle shape. Roll each piece of dough up like a log or like a Swiss Roll. Make sure each is rolled tightly from end to end.
  • Place each part back into the bread machine’s bread pan next to each other. The seams of the logs should face down.
  • Cover the bread pan with plastic wrap and let it sit for about 45 minutes to an hour. The dough should rise to almost double its size in this time.
  • Remove the plastic wrap and rub the egg wash on the top of the dough logs.
  • Now you can place the bread pan into your bread machine. Select the “Bake” option.
  • The time settings may vary from one machine to another. Some let you set the time for baking. For soft milk bread that’s not over-baked, it should bake for 30 to 45 minutes.
  • Let your Japanese milk bread sit until it’s cooled or the cooling cycle on your bread machine is finished. If you break or cut into your bread too soon, the air that makes the bread fluffy escapes and it will collapse.
  • Once it’s cooled, you can enjoy your tasty sweet bread! Try it with a glass of milk or add some butter to the bread.

If you want (or need) gluten-free Japanese milk bread, here are the ingredients you’ll ne​​​​​ed:

Japanese milk bread
  • 1 cup of low-fat milk
  • 1 teaspoon of apple cider vinegar
  • 4 tablespoons of melted butter
  • 2 1/2 cups of gluten-free flour
  • 1 1/2 teaspoons of xanthan gum
  • 1 1/2 teaspoons of cream of tartar
  • 1/3 cup of sugar
  • 1 teaspoon of sea salt
  • 2 1/4 teaspoons of yeast
  • 1 egg

For the starter, use low-fat milk instead of whole milk and gluten-free flour. For the egg wash, use low-fat milk instead of whole milk. It’s easy as that!

Final Thoughts

 Don’t be intimidated by the process of making Japanese milk bread. It’s not as difficult as it looks and in the end, you’ll have the yummiest bread you’ve ever eaten. We can guarantee your whole family will love this rich bread.

Leave a Comment: