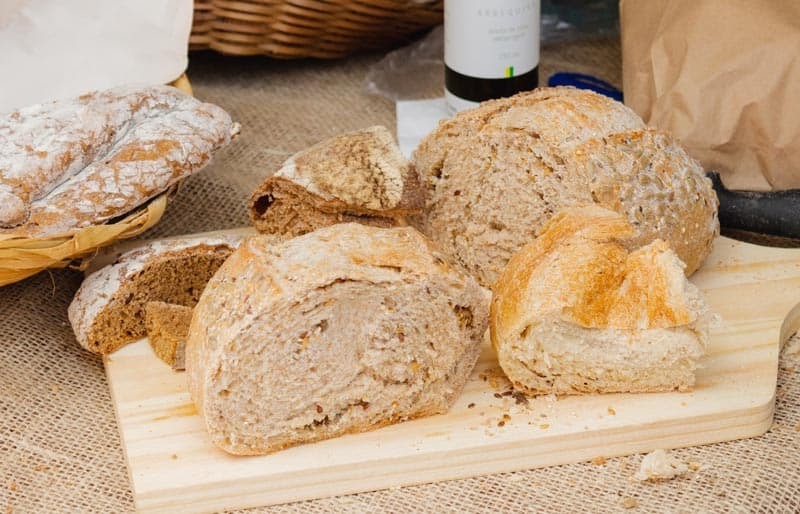
Kneading is a long tedious process that can sometimes take the joy out of baking fresh bread, especially if you’re new to the baking game. Luckily, there are fantastic bread recipes that require no kneading.
Today we’re going to learn all there is to know about rye bread and why you should be eating it. Then we’re going to focus on our No Knead Rye Bread Secret Recipe. You don’t need to be a professional to make a tasty loaf of rye bread.
The Basics of Rye Bread
Before we get started with our recipe, it helps to understand the basics of rye bread and rye flour.
What is Rye?

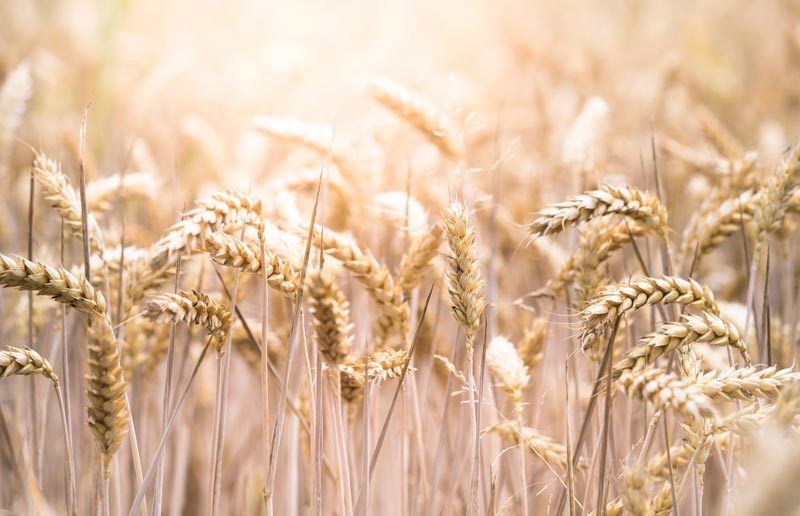
Rye is a type of cereal grain, a kind of edible grass seed. It’s from the Poaceae/ Gramineae family which also includes popular grains like wheat and oats.
Rye grows the best in northern Europe, making the bread a big hit in countries like Germany and Scandinavia. Dinner tables are normally adorned with fresh baked rye bread.
What are the Health Benefits of Eating Rye Bread?
There are several health benefits to eating rye bread, so many that it’s even considered healthier than wheat bread. Some of these are:
What are the Different Types of Rye Flour?

There are several different types of rye flour. What you choose should depend on your tastes, baking abilities, and health needs.
Keep in mind, most recipes of rye bread incorporate normal bread flour and/or wheat flour. This is done because the rye flavor can be overpowering if you just use rye flour.
Plus, rye (like wheat) doesn’t like to rise the way loaves of white bread do because rye does not contain gluten. So, adding other flour helps make a bigger loaf instead of just a dense and small loaf of bread.
If you prefer to only use rye flour, you should also be using vital wheat gluten to help your bread rise. A tablespoon of this gluten will work just fine.
Types of rye flour:
No Knead Rye Bread Secret Recipe

- 1First, mix all the dry ingredients in a large mixing bowl.
- 2Once the dry ingredients are thoroughly combined, slowly mix in the butter, maple syrup, and water. Don’t forget to scrape the sides of the bowl for any ingredient residue. Your dough will be a bit sticky once done. If it’s too dry, add a tablespoon of lukewarm water at a time until it’s a bit sticky. If it’s way too sticky, add all-purpose flour a dash at a time until it’s the correct consistency.
- 3Move the dough to a mixing bowl coated with cooking spray or butter. This isn’t a must but it helps later when you go to remove the dough from the bowl.
- 4Cover the bowl with plastic wrap for 2 to 3 hours to let the dough rise just a bit.
- 5Lightly flour a working space on your counter. It helps to flour or grease up your hands, too, since the dough is a little sticky.
- 6Move your ball of dough to the floured surface and fold it into thirds. Flip the dough around and fold it into thirds again. Flip and fold two more times. This should form a nice rounded dough ball with one side that’s a bit flat.
- 7Move the dough ball, flat side down, into another greased bowl. You can also place it on a greased parchment paper in a bowl so you can move it easily later on. Cover this bowl with either plastic wrap or a moist towel. We prefer to use a moist towel because it helps with the yeast and the rising of the dough. Let it sit another two to three hours.
- 8Place a Dutch oven or casserole pot into your oven. Preheat the oven to 450 degrees F.
- 9Once both your oven and Dutch oven are at the right temperature, remove the Dutch oven to grease it with butter or cooking spray. If it has an enamel based coating, you won’t need to grease it. Remove the raised dough and place it the Dutch oven. If you used parchment paper, all you have to do is lift the paper and gently drop it into the Dutch oven. Cover the Dutch oven with the lid and put it back into your oven.
- 10Let the bread bake for 25 minutes to 30 minutes. Remove the lid from the Dutch oven and bake it for about 10 minutes to 15 minutes longer.
- 11Your rye bread should be a nice golden brown on top now and the internal temperature should range from 195 degrees F to 200 degrees F. Let it cool for at least an hour before serving.
The Bottom Line
If you’re looking for a healthy, heavy bread, rye is a great option. And if you hate kneading, this rye bread recipe is perfect for you!

