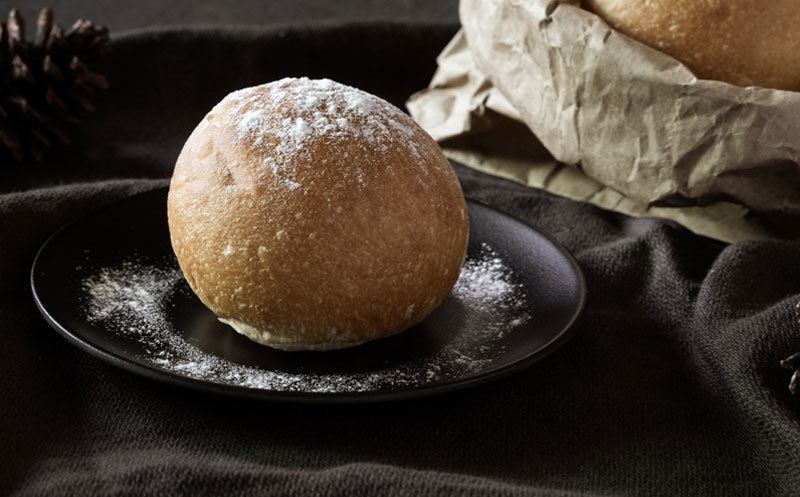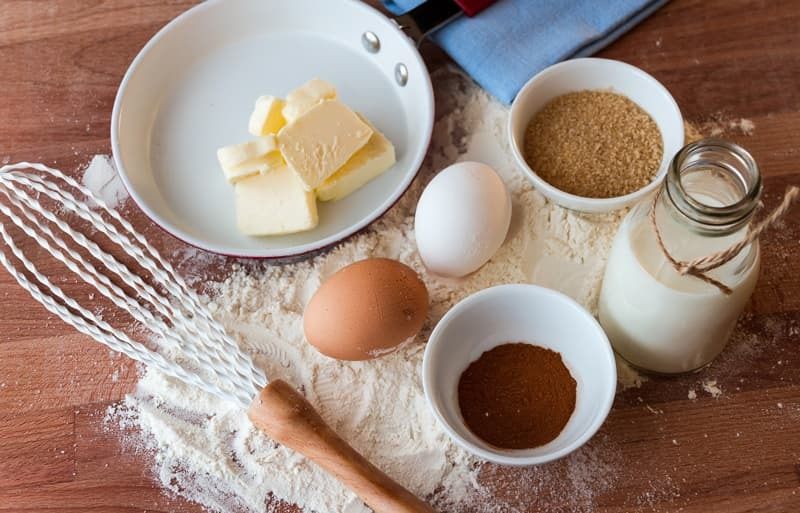
Sometimes we want to bake bread by hand instead of using a bread machine. It feels good to look at a loaf of fresh bread and know that you did all the hard work but it takes both practice and patience to do it right.
Making a loaf of bread by hand doesn’t mean you have to do all the difficult work by yourself.
We love our Kitchenaid stand mixer. It saves us strength and time in the kitchen. Kneading can be tortuous and tedious so there’s no reason you can’t let your stand mixer do it for you.
We want to share our favorite Kitchenaid bread recipe with you that you can mix with your Kitchenaid stand mixer.Kitchenaid Bread Recipe for Stand Mixers
The recipe below is the best Kitchenaid bread recipe to use with your Kitchenaid stand mixer. This recipe creates the perfect loaf of fresh homemade white bread with a delicious fluffy texture. The inside turns out soft every time while the outside is the perfect balance between crispy and soft.
This Kitchenaid bread recipe takes a few hours so make sure you have the morning or afternoon off and you’re away from any distractions.
This bread recipe makes about 2 loaves of bread and each should be about 12 servings or 12 slices of bread. Each serving has about 235 calories.
- 1First, add room temperature milk, maple syrup, margarine, and salt to a small saucepan. Put it on low heat and let the pan warm up. Stir the mixture until the butter is melted and the salt is dissolved. Set aside and let cool to room temperature.
- 2While you’re waiting, pour room temperature water and dry yeast into the bowl of your Kitchenaid mixer. Stir the yeast until it dissolves completely. Let the mixture sit for at least 5 minutes.
- 3Add the milk and butter mix to the mixer bowl with the dry yeast.
- 4Add 4 1/2 cups of all-purpose flour to the mixer bowl.
- 5Attach the paddle attachment to your Kitchenaid stand mixer. Then, attach the mixer bowl. Make sure both are properly attached and aren’t loose.
- 6Turn the mixer on at the lowest speed. Let it work the ingredients for about three to five minutes.
- 7Now, switch the paddle attachment to the dough hook attachment which is specifically designed to knead the dough. Turn the mixer on the second-lowest speed. Slowly add in the remaining flour to the rest of the ingredients. It helps to add it a 1/3 cup at a time. The dough should be soft and formed into a ball. There shouldn’t be any flour on the side of the mixer bowl, however, your dough shouldn’t be super sticky. If it is, add more flour. Keep in mind, you may not need all the flour to get your dough to this stage. Let the mixer knead the dough for another 10 minutes.
- 8Grease a bowl with cooking spray or melted butter. Place your dough inside the bowl. Move and flip the dough around the bowl so it’s covered in the cooking spray or butter.
- 9Cover the bowl with either saran wrap or a damp warm towel. Let it sit for at least an hour at room temperature. After an hour, your dough should be double its original size.
- 10Grease the bread pans with either cooking spray or butter.
- 11Punch or push the bread dough down to make it smaller again. Divide the bread dough in half. A dough cutter comes in handy here. I always have one nearby when I’m baking any bread.
- 12Lay the two halves of the dough on a floured surface. This is your work area to shape the dough.
- 13Shape and pat each half of the dough into a rectangle shape. It should be about 9 inches by 12 inches. Roll up each piece of dough like a Swiss Roll. Make sure it’s rolled tightly. Pinch and tuck the seam of each piece of dough and smooth them into a bread loaf shape.
- 14Place both loaves into their greased bread pans. Cover both with either saran wrap or a damp warm towel. Let them sit for about an hour at room temperature. The bread dough should have doubled in size once the hour is over.
- 15Preheat the oven to 400 degrees.
- 16Melt a few tablespoons of margarine in the microwave.
- 17Brush the top of each of the loaves with the melted butter. Don’t use it all just yet.
- 18Once the oven is heated, place both bread pans inside. Bake for 15 minutes. Then, rotate the bread so it will bake evenly. Leave it in the oven for another 15 to 20 minutes. Bake until golden brown. Another way to tell if your bread is done baking is to tap the top of it. If it’s finished, it will sound hollow.
- 19Remove the bread from the oven and brush both loaves with the rest of the melted butter.
- 20Let the bread sit until it’s cool. Then, it’s ready to serve with lunch or dinner.
The Bottom Line
Kitchenaid makes some of our favorite standing mixers. We hope you enjoy this delicious white bread while you put your standing mixer to the test.

